Installation of Perlitti Board

Lath and Air Flow
AIRFLOW STRUCTURE THROUGH METAL ,WOODEN LATH , INSTALLATION OF PERLITTI BOARD AND PLASTERING.

Installation Assembly instruction for Pelitti rendring system
Important details
Follow Correct Installation of Wooden studs on the substrate below

1.1 using high quality studs to achive a plan facade surface
2. Adjustment of the screw head on the Perlitti Board

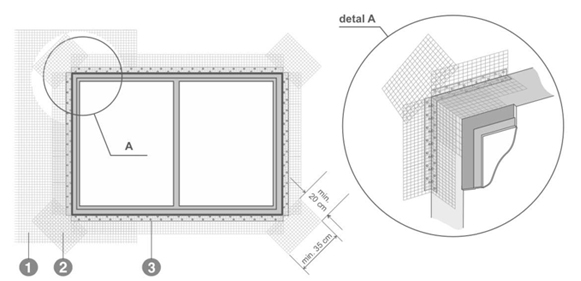
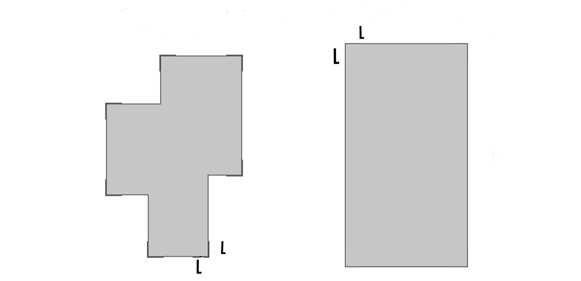
Extra screws on the corners
-Buildings up to 10 meter L=1.2 meter
-Buildings over 10 meter L=1.8 meter